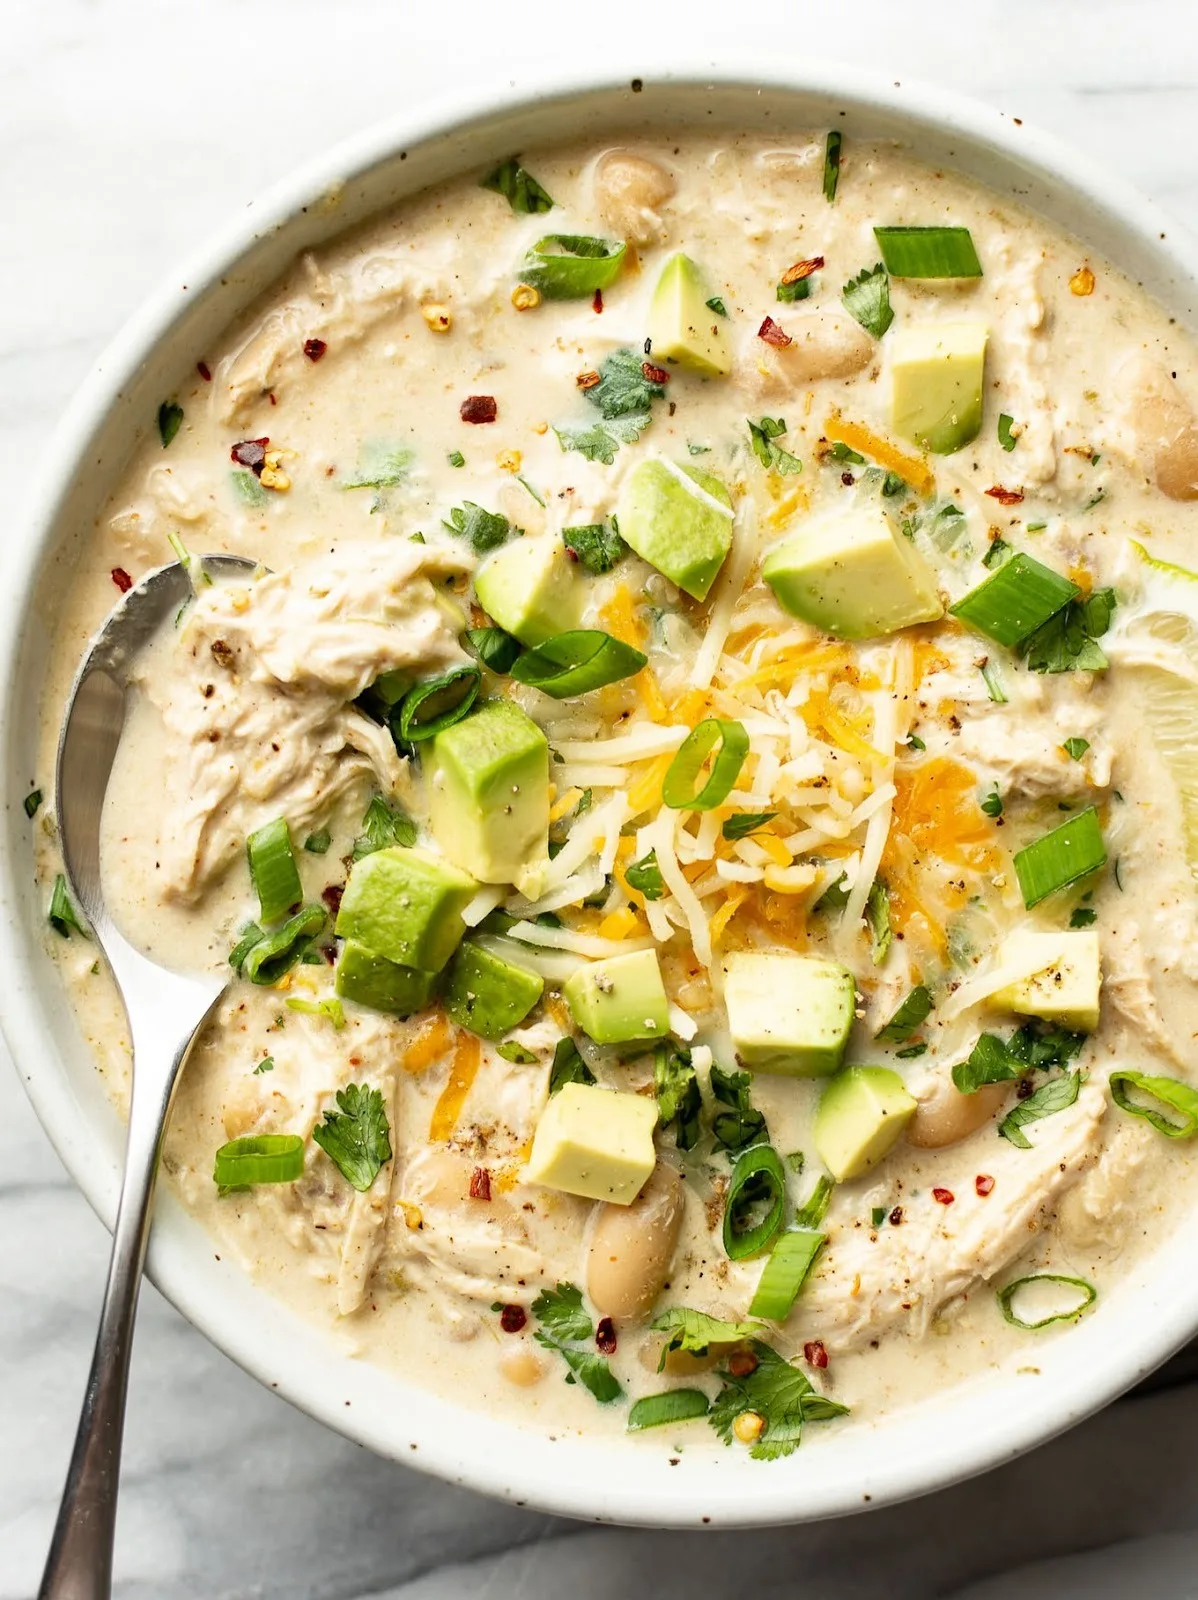
Instant Pot White Chicken Chili
I still remember the first time I made this Instant Pot White Chicken Chilion a busy Tuesday night when I had zero energy to cook. I threw everything into the pot, crossed my fingers, and was absolutely blown away by the creamy, spicy aroma that filled my kitchen.
It has since become my ultimate rescue meal because it tastes like I spent hours simmering it on the stove, even though the pressure cooker did all the heavy lifting.
The balance of tender chicken, hearty beans, and zesty lime makes me want to go back for a second bowl every single time. It is honestly one of the most satisfying and stress-free dinners I have ever prepared for my family.
Ingredients
Here is everything you will need to pull this delicious meal together.
- 1 small onion, diced – This savory aromatic forms the flavor foundation of the chili, adding sweetness and depth as it cooks down in the pressure cooker.
- 2 cans (15 oz each) cannellini beans, drained and rinsed – These creamy white beans hold their shape well and provide a hearty texture that makes the chili filling without being heavy.
- 2 cups corn, fresh or frozen – Sweet corn adds a wonderful crunch and a pop of sweetness that balances out the savory spices and rich broth.
- 1 cup low sodium chicken broth – You need just enough liquid to create steam for pressure cooking, and using low sodium allows you to control the saltiness.
- 4 ounces can diced green chilies – These mild peppers add a distinctive tangy flavor and a very subtle heat that isn’t overpowering for kids or sensitive palates.
- 1 teaspoon cumin – This warm, earthy spice is essential for that classic chili flavor profile and pairs perfectly with the chicken.
- 2 teaspoons chili powder – This provides the main seasoning kick, adding color and a rich, smoky flavor to the broth.
- 1 teaspoon garlic powder – Using powder here ensures the garlic flavor is distributed evenly throughout the liquid without needing to mince fresh cloves.
- 3/4 teaspoon salt – This enhances all the other flavors, but feel free to adjust the amount based on your dietary needs or taste preference.
- Ground black pepper to taste – A little bit of pepper adds a nice background heat that rounds out the spice profile.
- 1 pound boneless skinless chicken breasts – These cook quickly and shred effortlessly after pressure cooking, becoming tender and soaking up the broth.
- Small bunch of cilantro, finely chopped – Adding fresh herbs at the very end brightens up the entire dish with a burst of fresh, citrusy flavor.
- 1/2 cup Greek yogurt (2% or higher) – This is the secret to making the chili creamy and tangy without adding excessive heaviness or fat.
- 2 ounces cream cheese – Just a small amount melts into the hot soup to create a velvety, luxurious texture that binds everything together.
- Juice of 1 lime – The acidity from fresh lime juice cuts through the richness of the dairy and wakes up all the savory flavors.
Note: This recipe yields approximately 8 servings.
Variations
This recipe is incredibly forgiving and easy to adapt to your specific dietary needs.
- If you need a dairy-free version, you can simply omit the Greek yogurt and cream cheese. To keep that creamy texture without dairy, try blending about one cup of the cooked beans with a little broth and stirring it back into the pot.
- For those watching their sodium intake, ensure you use no-salt-added beans and corn, and stick to the low-sodium broth.
- You can also swap the chicken breasts for chicken thighs if you prefer darker meat, or even use leftover rotisserie chicken added at the end (just reduce the cooking time).
- If you love heat, toss in a diced jalapeño with the seeds included during the cooking process.
Cooking Time
Here is a quick breakdown of the time investment for this meal.
- Prep Time: 5 minutes
- Cooking Time: 20 minutes
- Total Time: 45 minutes (includes pressurizing and release time)
Equipment You Need
You only need a few key tools to make this one-pot wonder.
- Instant Pot (6qt or larger): This is the main vessel used to pressure cook the ingredients quickly and tenderly.
- Cutting Board and Knife: Essential for dicing the onion and chopping the fresh cilantro garnish.
- Can Opener: Needed to open the cans of beans and green chilies.
- Two Forks: Used for shredding the chicken breasts directly inside the pot once they are cooked.
How to Make Instant Pot White Chicken Chili?
This process is designed to be as simple as possible, utilizing the “dump and go” method that makes pressure cooking so popular. You essentially layer the ingredients, let the machine work its magic, and finish with a few fresh touches. It is foolproof and results in perfectly cooked chicken every single time.

Layering the Ingredients
Start by placing the diced onion, rinsed beans, corn, chicken broth, and green chilies into the stainless steel inner pot of your Instant Pot. Sprinkle the cumin, chili powder, garlic powder, salt, and pepper over the vegetable mixture. Finally, place the whole chicken breasts on top of everything; do not stir the mixture, as keeping the chicken on top helps it cook evenly without scorching the bottom.
Pressure Cooking the Chili
Secure the lid onto the Instant Pot and ensure the steam release valve is set to the “Sealing” position so pressure can build. Select the “Pressure Cook” or “Manual” button and set the timer for 20 minutes on High pressure. The pot will take some time to come to pressure before the countdown begins, during which the flavors will start to meld together in the sealed environment.
Releasing Pressure and Shredding
Once the cooking cycle is complete, let the pot sit for a natural pressure release for 10 minutes to keep the meat tender. After 10 minutes, carefully turn the valve to “Venting” to release any remaining steam. Remove the cooked chicken breasts from the pot and shred them using two forks, then return the shredded meat back into the hot broth.
Finishing the Dish
To complete the chili, stir in the chopped fresh cilantro, Greek yogurt, cream cheese, and fresh lime juice directly into the hot mixture. Stir continuously until the cream cheese has completely melted and incorporated, creating a smooth, creamy white broth. Serve immediately while it is piping hot and the flavors are vibrant.
Additional Tips for Making this Recipe Better
I have learned a few tricks along the way to make this chili truly outstanding.
- I always recommend using a block of cream cheese rather than the tub variety because it melts much smoother and doesn’t separate in the hot broth.
- If I want an even thicker chili, I will take a potato masher and gently mash some of the beans in the pot before adding the chicken back in.
- I find that letting the cream cheese sit on the counter to soften while the chili cooks makes it melt much faster when you stir it in at the end.
- Don’t skip the lime juice; I used to think it was optional, but I realized it is absolutely crucial for cutting through the richness of the cream cheese.
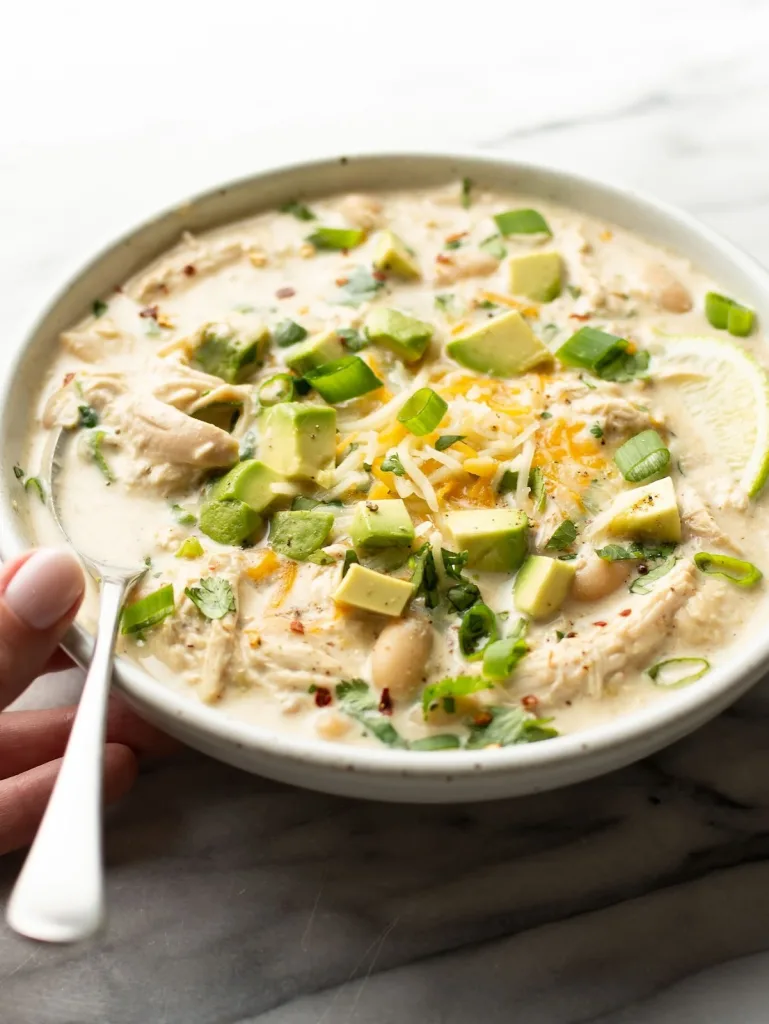
How to Serve Instant Pot White Chicken Chili?
This chili is visually stunning when served in wide, shallow bowls that allow plenty of room for toppings. I love to set up a “chili bar” where everyone can customize their own bowl. Essential toppings include extra lime wedges, chopped cilantro, and plenty of crushed tortilla chips for texture. For a pop of color and creaminess, add slices of ripe avocado or a dollop of sour cream. If you want to make it a full feast, serve it alongside warm, sweet cornbread or jalapeno cheddar muffins to soak up that delicious creamy broth.
Nutritional Information
Here is a quick look at the approximate nutrition per serving.
- Calories: 249 kcal
- Protein: 22g
- Carbohydrates: 30g
- Fat: 5g
Make Ahead and Storage
This chili stores beautifully, making it a fantastic option for meal prep or leftovers.
Storing in the Fridge:
Allow the chili to cool completely before transferring it to an airtight container. It will stay fresh in the refrigerator for up to 5 days. I actually find that the flavors taste even better on the second day after they have had time to marry.
Freezing Instructions:
You can freeze this chili for up to 3 months in freezer-safe bags or containers. However, because it contains dairy, the texture might separate slightly upon thawing. I suggest freezing the base without the yogurt and cream cheese, and then adding those fresh when you reheat it.
Reheating Tips:
To reheat, gently warm the chili on the stovetop over medium-low heat, stirring frequently to prevent sticking. If the chili has thickened up too much in the fridge, I usually add a splash of chicken broth or water to loosen it up to the right consistency.
Why You’ll Love This Recipe?
There are so many reasons this chili will earn a permanent spot in your dinner rotation.
- Effortless Preparation: With zero sautéing required and a simple “dump and go” method, you can have a homemade meal with barely any active work.
- Healthy yet Comforting: It manages to be creamy and satisfying while still being packed with lean protein and fiber-rich beans.
- Crowd-Pleaser: The mild, creamy flavor profile is usually a hit with kids, while adults can easily spice it up with extra toppings.
- Budget-Friendly: It utilizes affordable pantry staples like canned beans and corn, stretching a single pound of chicken into a meal that feeds the whole family.
- Versatile Leftovers: It reheats beautifully for lunch the next day and can even be served over baked potatoes or rice for a totally different meal.